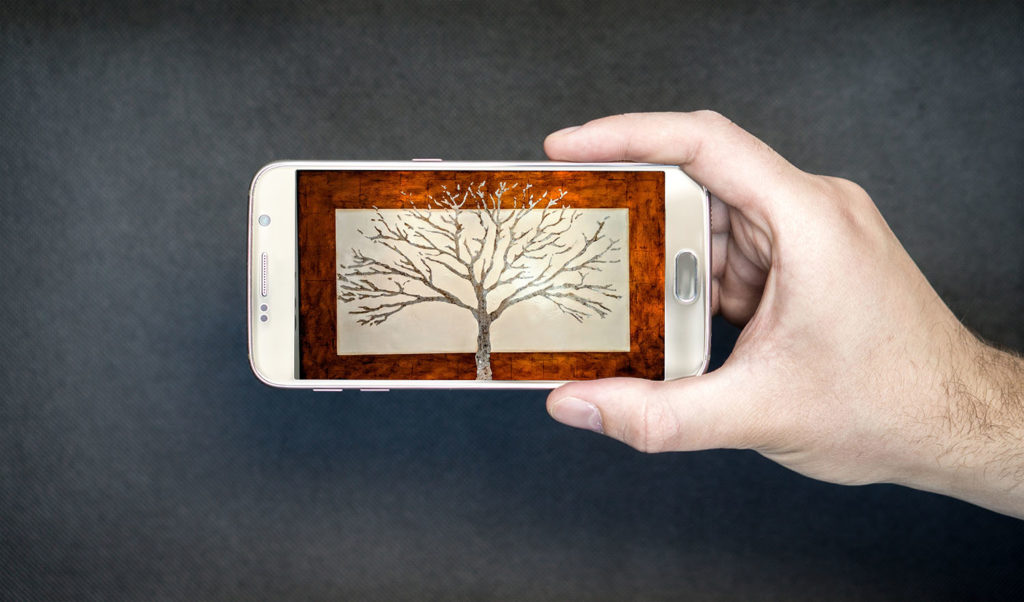
You put a lot of time and energy into creating a polished piece of work and photographs of your work need to be high quality as well. It doesn’t matter whether you are putting together a portfolio to impress gallery directors, preparing an entry for a fine art competition, or gathering images to use on social media — you need to know how to take great images of your work or find someone to take them for you.
When you submit a photo or portfolio remember that this is often the first sample of your work that people will see and if the images are bad it’s most likely the last they see of your work. With the click and the swipe of a mouse the gallery owner has moved on to the next portfolio.
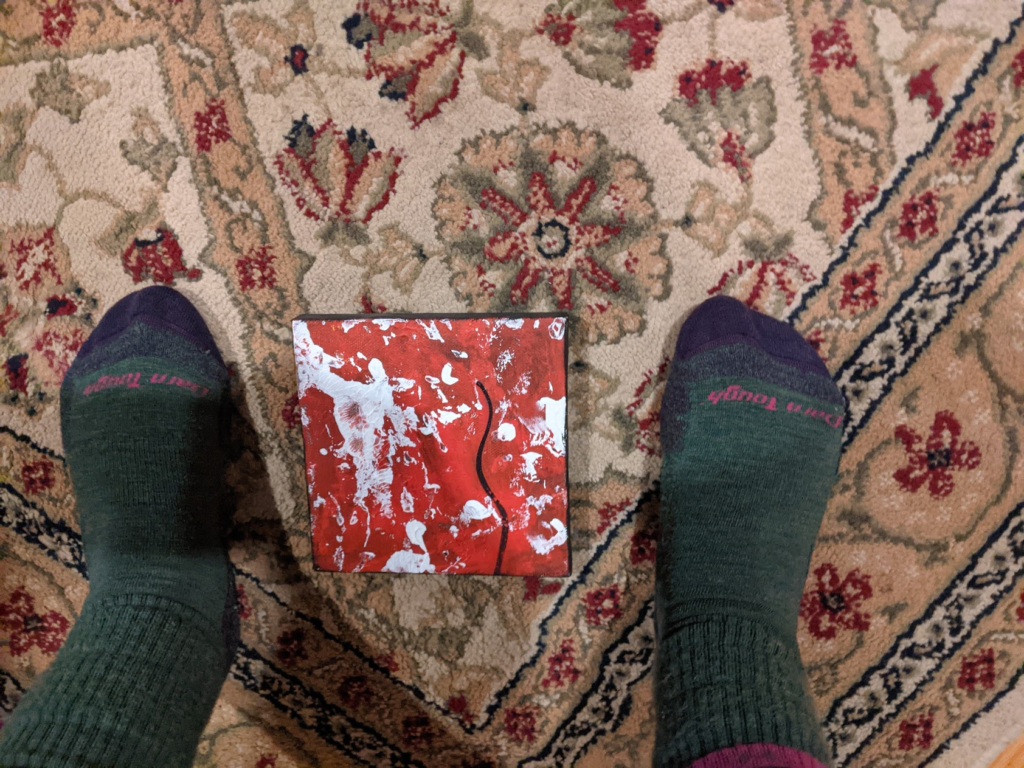
We recently asked a group of artists to submit a photo for a contest. Guidelines were provided, over half of the submitted images had problems that reflected poorly on the artists. Some had problems with color, lighting, or shadows. Others were poorly framed or taken at odd angles. In many the subject of the photo was difficult to determine with all the extra clutter. One even had the photographer’s feet in the image. Gallery directors are not likely to send you a text asking for a better photo, and customers are not going to call you to ask which item in the photo is for sale. Take your time when picking a photo and remember that you are not doing yourself any favors by providing bad photos of your work.
When I started out as a metal artist I would lug a few select pieces into a gallery and have a conversation with the owner about which pieces to show. Those days are long gone. You might have some of the greatest work in the universe but when you are presenting your work through email and websites you need to show the value of your work through images. With our current global climate of COVID-19, artists have been forced to stay home and gallery owners have been forced to do virtual tours. We are all having to adapt to showcase and sell work online. To reel the customers in you need to present them with photos of what they’re buying online. People tend to emotionally invest in images that they are presented with, and they will purchase art online if the photos are enticing.
Originally I took all my own photos of my artwork. As I look back at some of those photos I am embarrassed and I wonder what in the world was I thinking. I’ve since learned a few tricks to take better photos of artwork.
A great photo of your work is 40% more likely to get shared on social media.
Using the best lighting, and capturing the subject at the best angle are necessary and many non-photographer artists are not really sure what the right lighting or angle is; this is where a professional photographer can help you capture the essence of your work. These are photos you can use on your business cards, social media and websites.
If you are on a budget, however, you can get great results by taking your own photos. You don’t need professional photography gear, either — your mobile phone is probably sufficient as long as you learn a few basic tricks and strategies for photographing artwork.
Google is your friend, if you can not afford to hire a photographer, and you don’t have a photographer friend to barter your art for photos you can find lots of articles and resources online that will walk you through things like how important using natural light can be and what type of equipment you need. I even found information on how to get decent photos using your phone camera.
Whether you decide to hire a professional photographer or educate yourself on photographing artwork, great photos will really help sell your work!
Tricks for photographing artwork
1. Use natural light
Move your artwork by a north-facing door or window. Some might ask why a north-facing window. The direction of the window makes a huge difference in the light quality. North-facing windows will always have soft light because the sun never directly shines through them. South-facing windows will often have direct sunlight for a good portion of the day (as long as it’s sunny).
2. Avoid distorted perspective
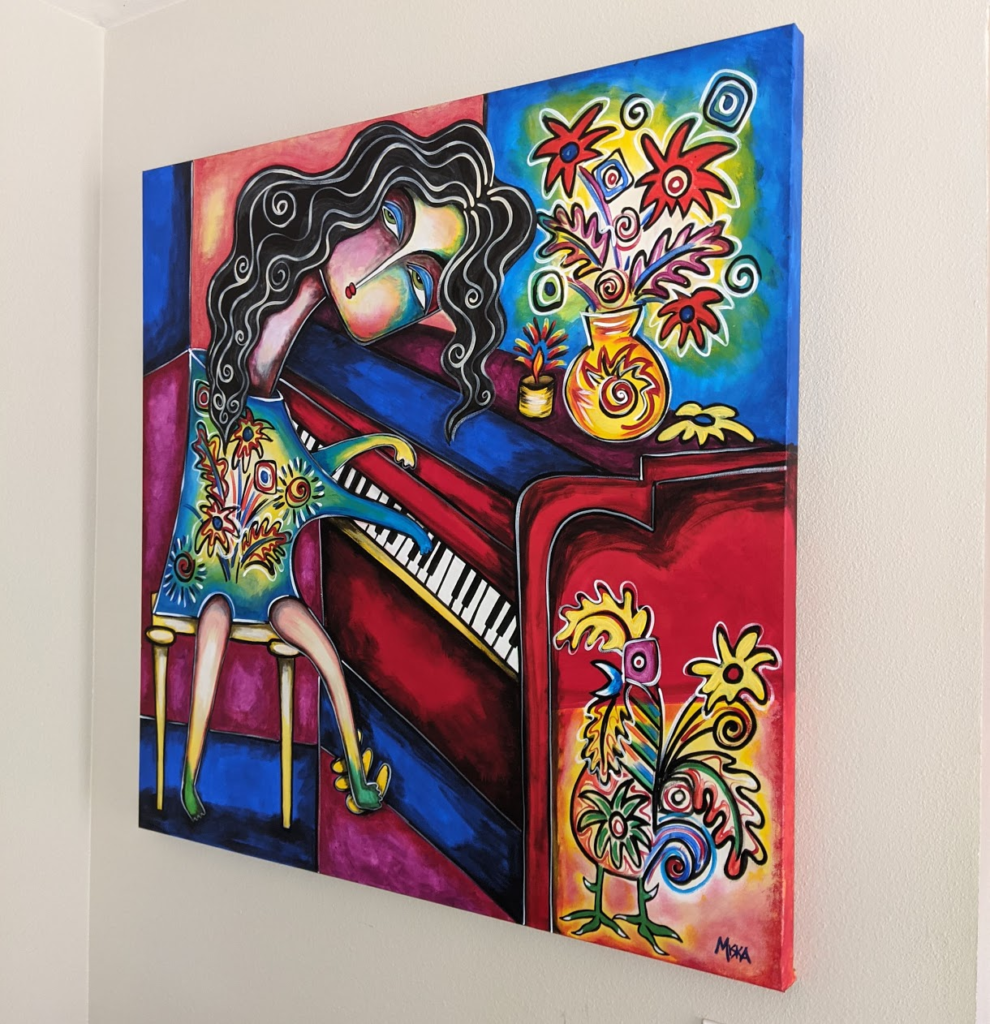
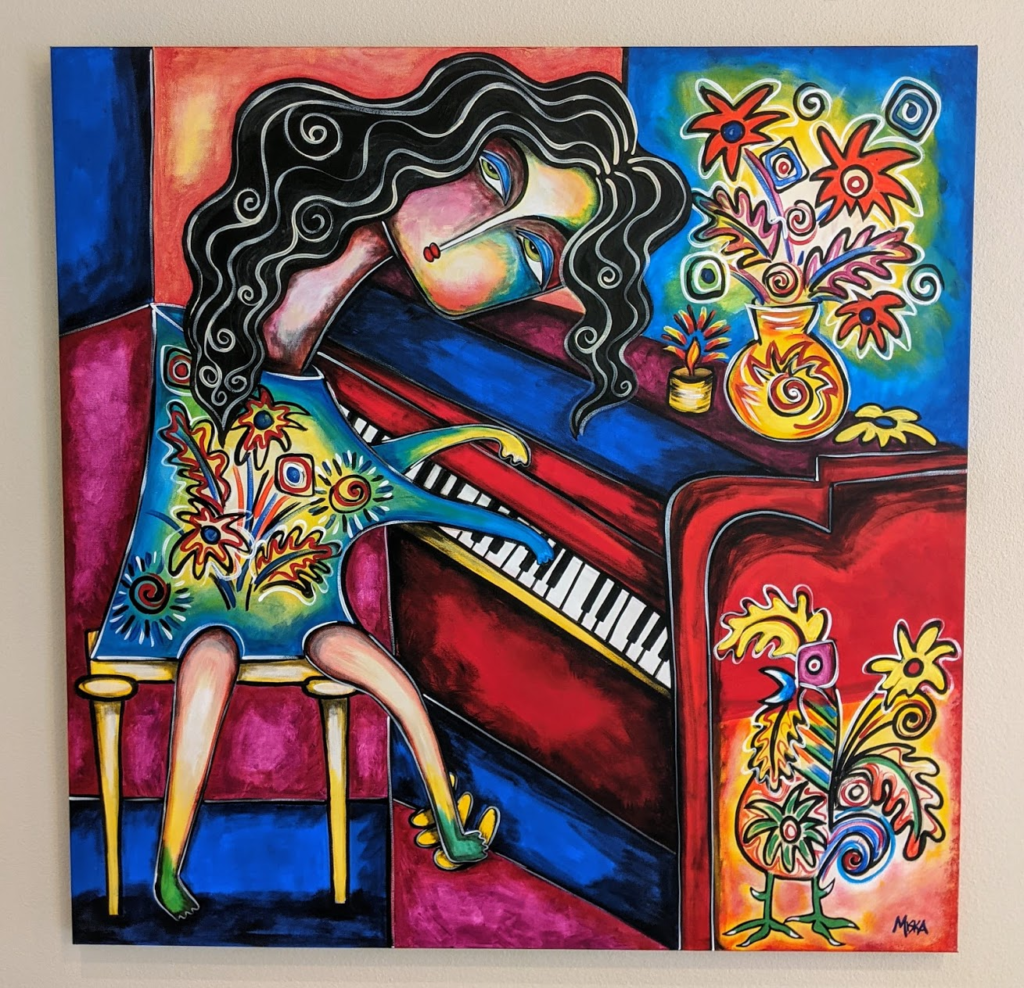
Some people take photos of their artwork leaning up against a wall. I suggest hanging artwork instead, because pieces leaning against a wall present a distorted perspective. Be sure to photograph your artwork from as close to a 90° angle as possible; this will result in a nice rectangular outline. You can also set the art on the ground and take the photo from above, but if the piece is large you’ll have to get pretty high up to capture everything. Before putting any art on the ground to take photos, make sure to clear the area of pets and children, and avoid stepping on your work!
3. Avoid colored walls
Remember the picture of the dress that no one could agree on what color it was? Our brains use a lot of cues to determine color in various lighting conditions, and we mentally “white-balance” based on background. When a piece of art is photographed against a light blue wall, our brains see the wall as white with blue light on it; this will change how we perceive the color of your artwork. When possible, photograph your artwork against a white or neutral (beige) wall.
This also helps the viewer imagine what your artwork would look like in their own home — this is more difficult when your artwork appears against a colored wall.
4. Avoid background clutter
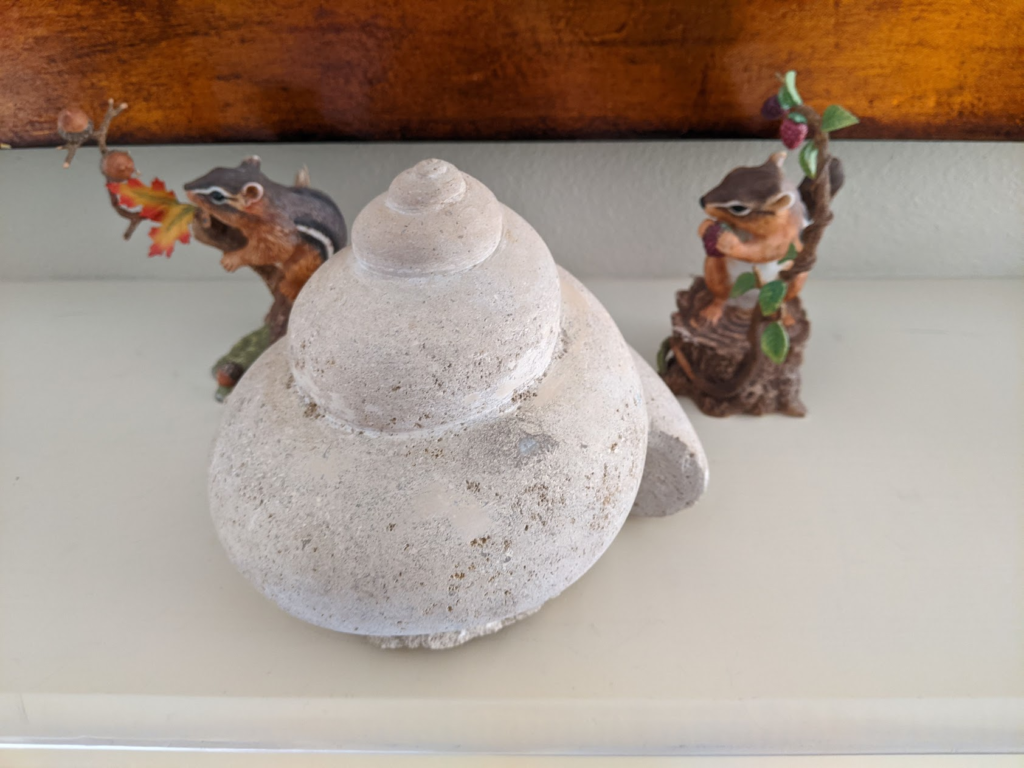
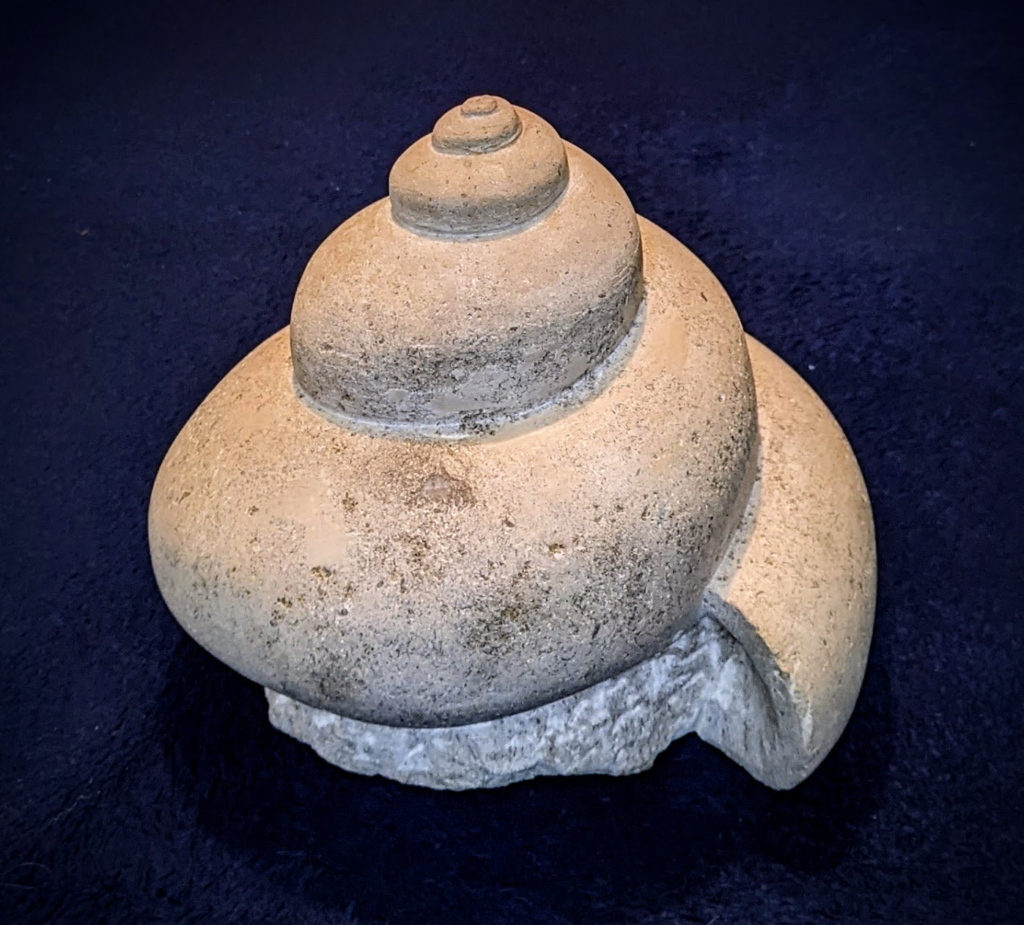
Clutter and unnecessary objects in artwork photos is one of the most common blunders artists make in taking their own photos. Your goal should be to isolate your artwork as much as possible, so it is the only thing in the image which draws the viewer’s eye. Extraneous elements such as knickknacks, souvenirs, pets, and even children are distractions from your artwork.
If you can’t set up your environment perfectly, you can crop your photo to remove unwanted clutter from your image. Cropping your photos is a good idea in any case, because it lets you limit the photograph to what is most important — your artwork.
6. Reduce glare
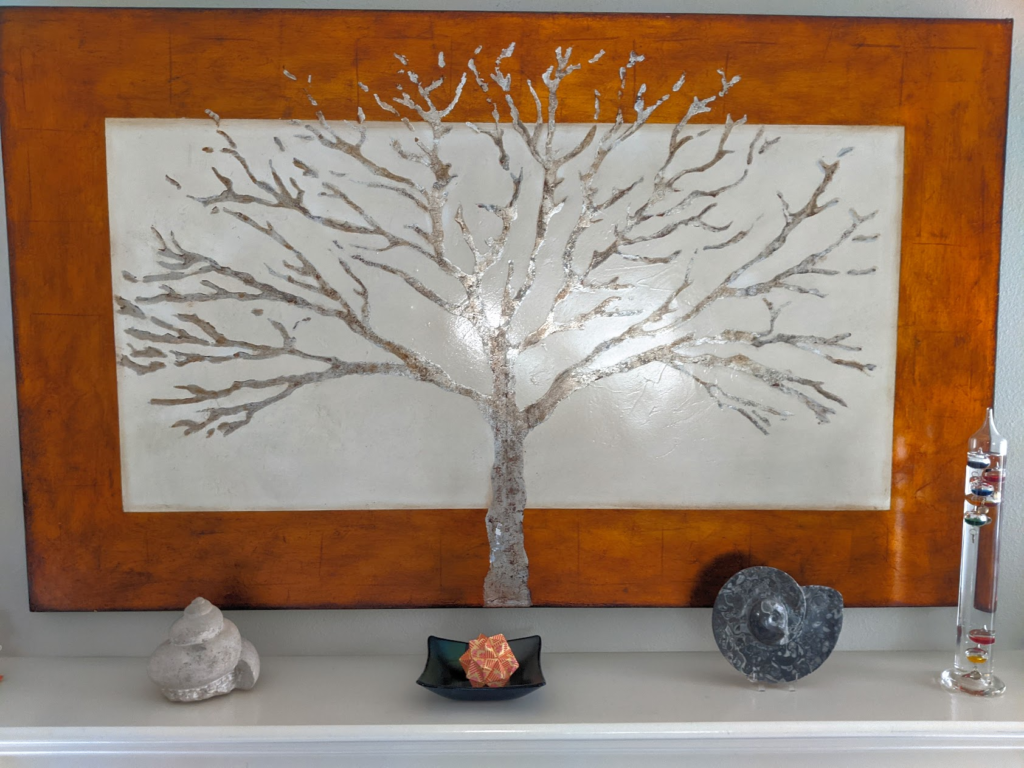
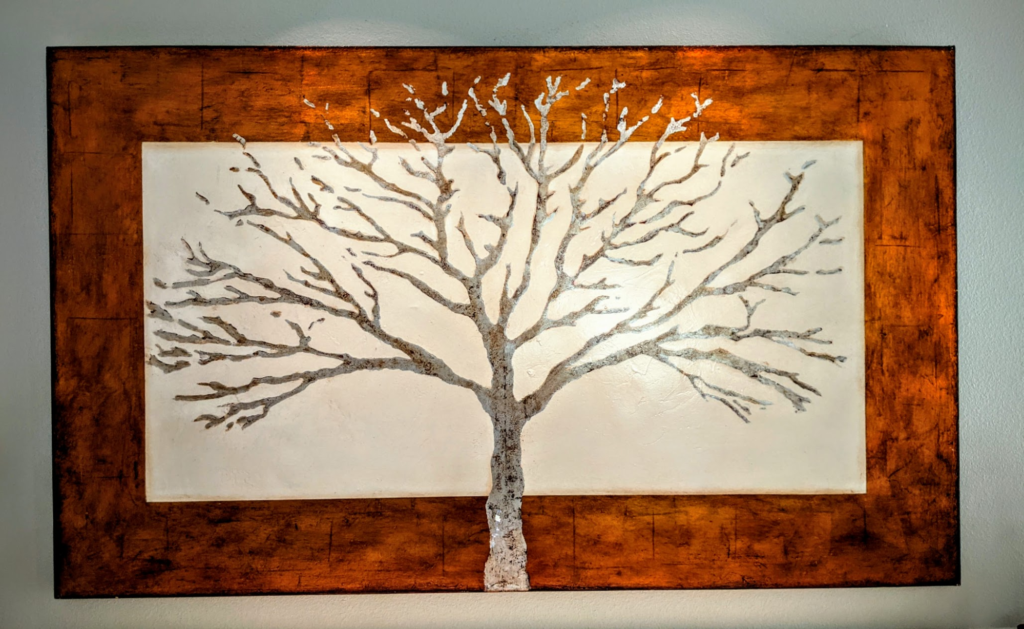
Turn off the flash! If you have a glossy or even semi-glossy paint surface, the flash is reflected straight back into the lens resulting in glare. The flash also produces harsh shadows that are visible because the flash is also offset slightly from the lens.
7. Multiple pieces
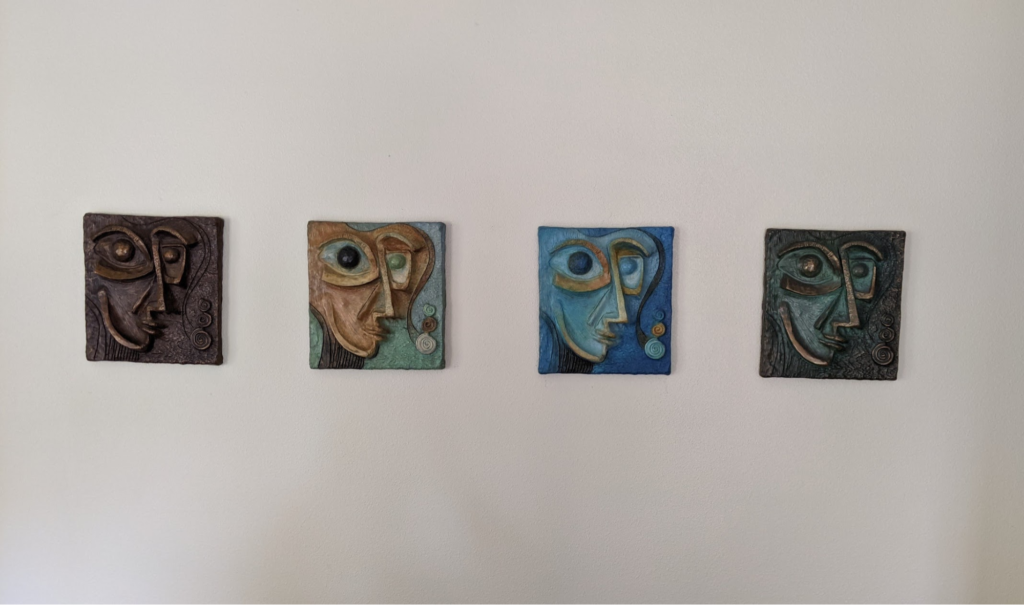
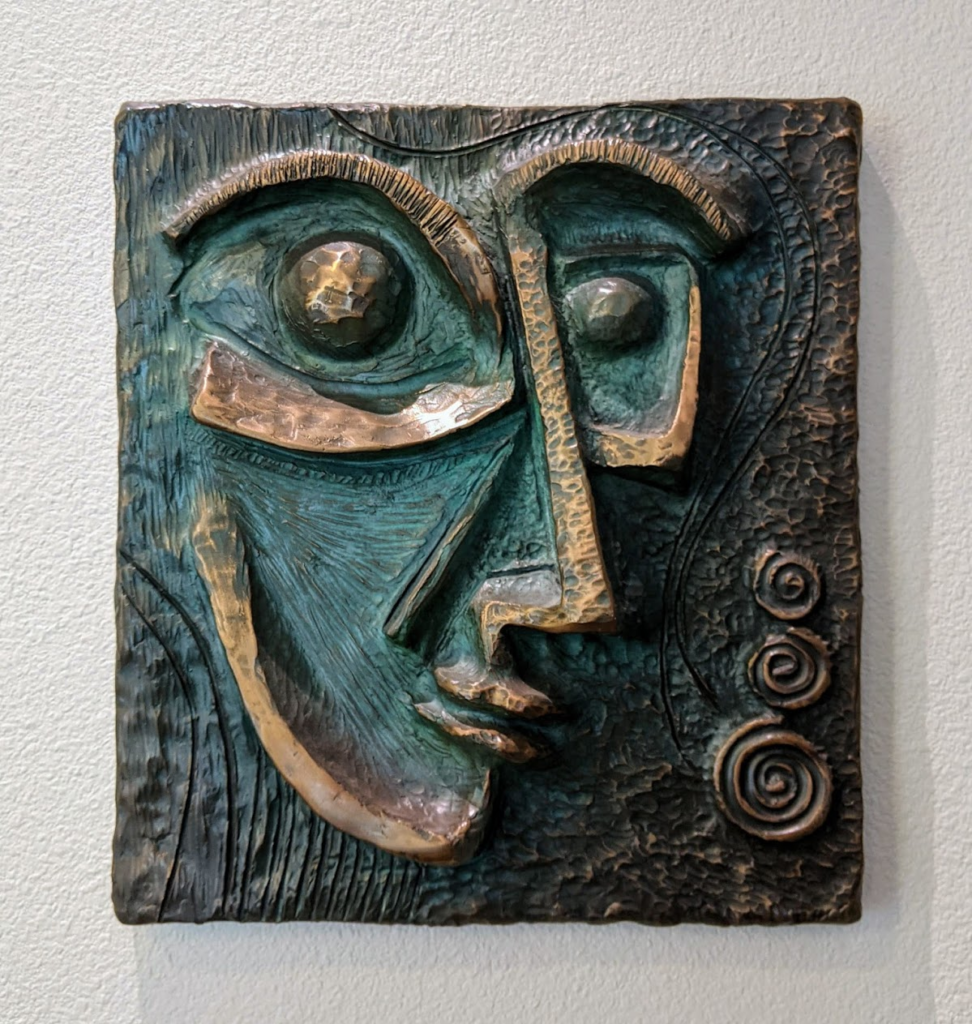
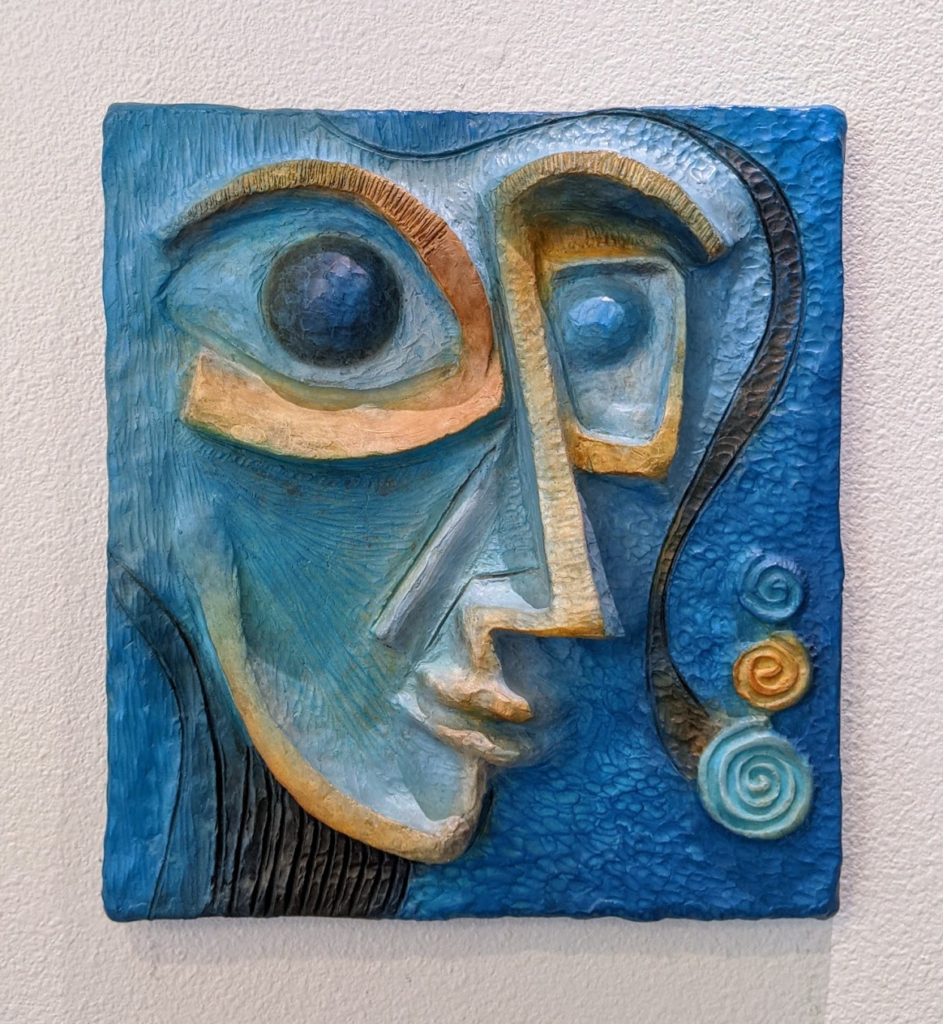
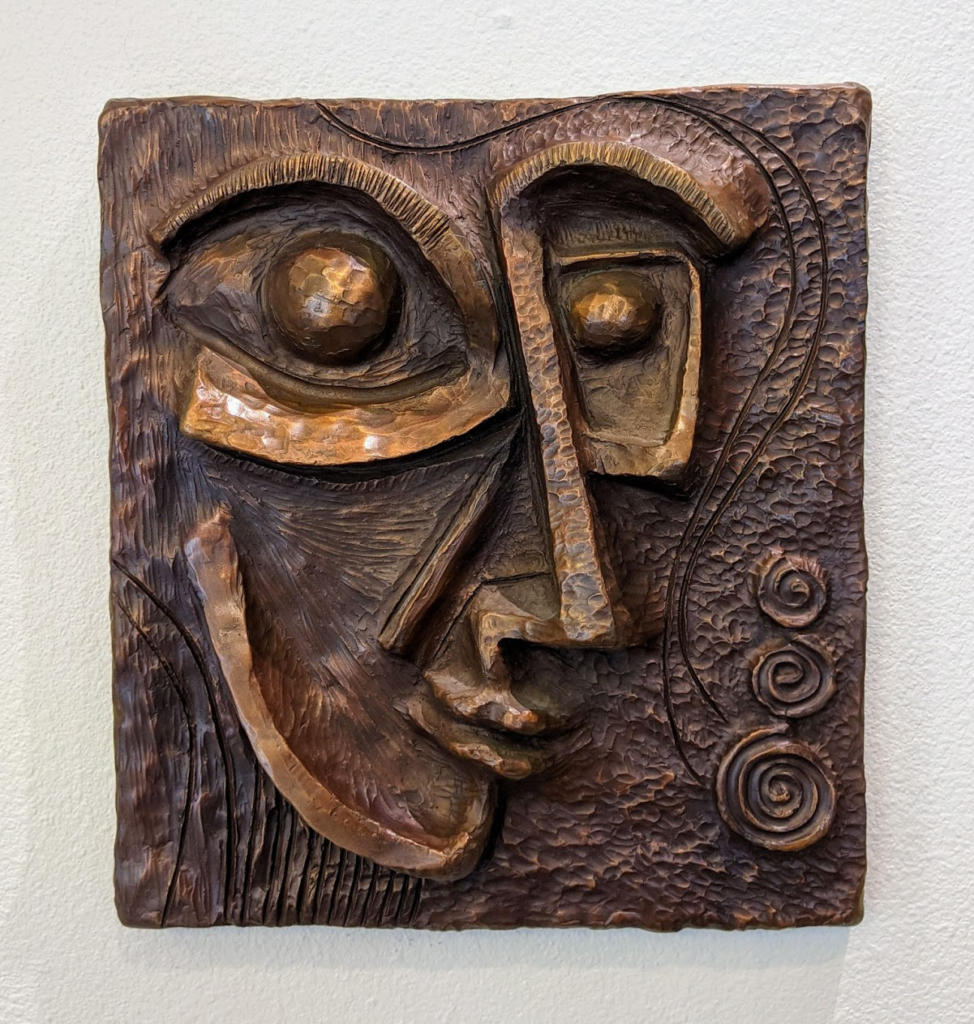
When you have multiple pieces of artwork in a set, don’t try to photograph them all at once. Take individual photos of each; these can be later arranged on a website in a manner that allows them all to be clearly seen.
8. Choose the right camera distance
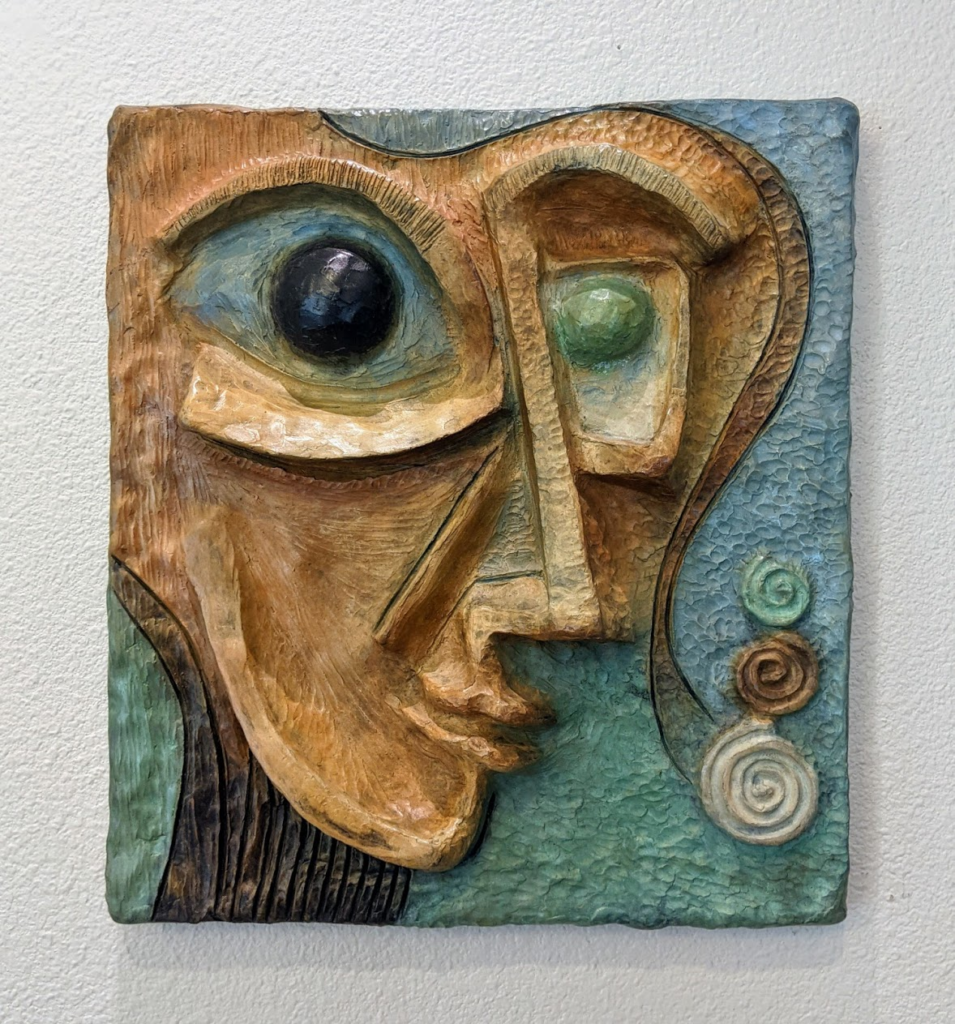
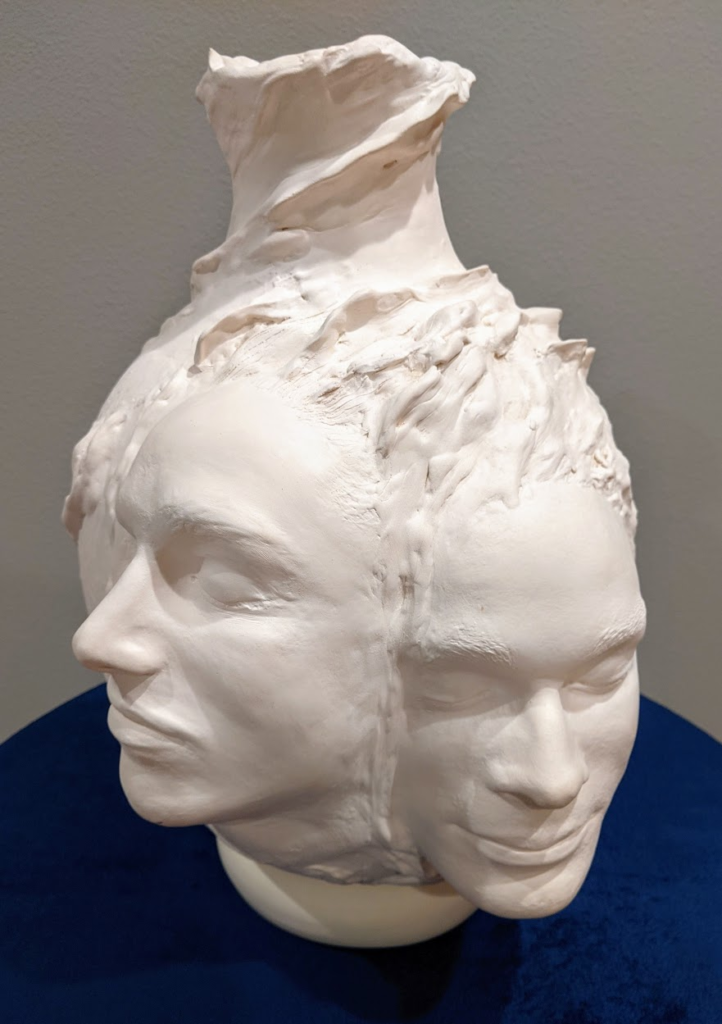
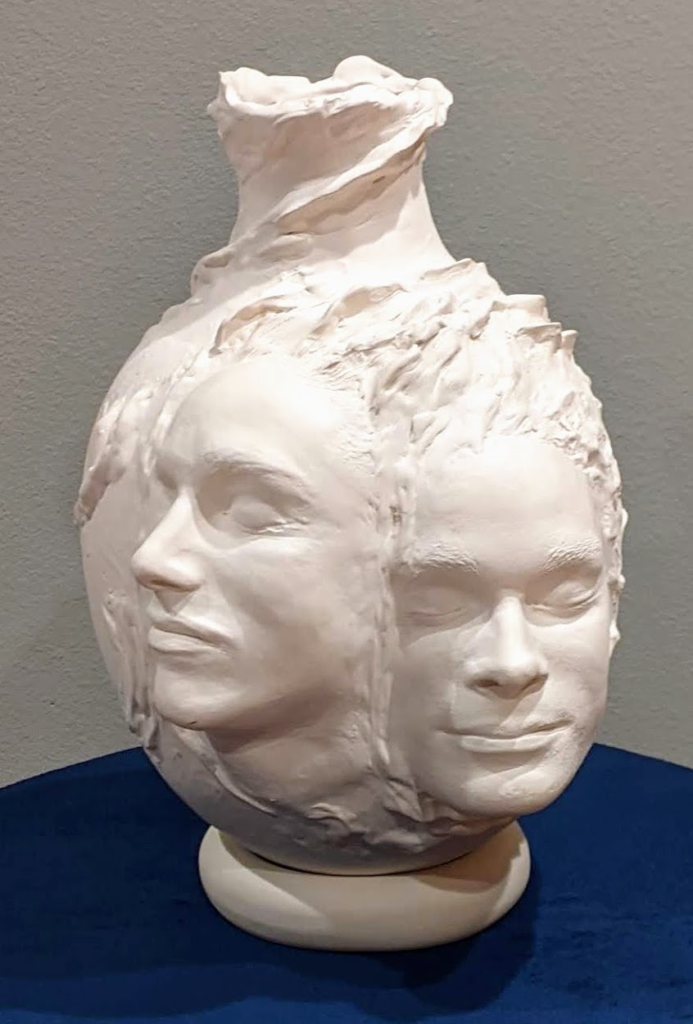
When photographing sculptures — particularly smaller pieces — you might be tempted to get up close with the camera so the artwork fills the frame. This results in a very unnatural perspective for your work.
Always try to take the photograph at the “natural” viewing distance. For small sculptures (i.e. less than 18″ high,) the natural viewing distance will be 4-6 feet away when displayed. You can then crop the image down to a size that isolates your artwork.
I am confident that if you take your time and try some of these tips you will be taking photos of your work that you can be proud of and your viewers will admire. Happy shooting !
Cynthia Freese – Director, Artists Sunday
